How to Use Text Tool
How to add text to images using text editor tool in GIMP?
Explanation
* The Text Tool is used to create text on the image, which makes the image to contain texts in addition to the image part.
* User may be in need of placing the text on the image in different styles. For that, he/she can use this Text tool.
How to Launch:
- Open Gimp.
- Launch a new image file.
- Now pick Text Tool from the toolbox.

- Shortcut for this tool is T. To pick this tool manually, click the Toolbox and then press the button T.
Tool Options:

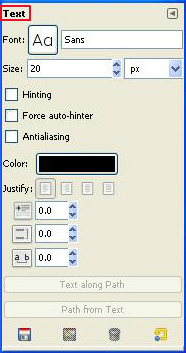
Font - Apply the desired font style for the text which you like to place.
Size - Set the height for the selected font.
Hinting - It alters the text items to generate better visible letters but in small font size.
Force auto-hinter - It automatically estimates information for better representation of the character fonts in a content.
Antialiasing - This option delivers a flat and even text.
Color - Apply different color patterns for the text.
Justify - The created texts can be justified either to Left, Right, Center or can be Filled.
Indent - This option enables to have space and it arises from the left margin.
Line spacing - This option organizes the space between the lines of text.
Character spacing - This option enables you to manage the space between the textual characters.
Text along Path - This option inserts the text in the path.
Path from Text - This option develops the path from selected portion of the text.
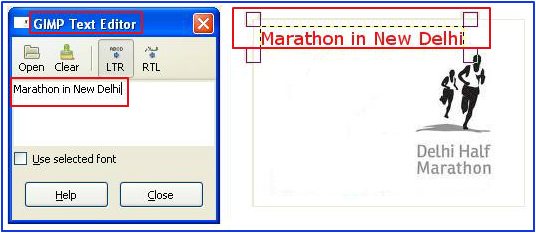
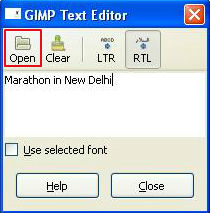
- The above image shows the Text Editor, which allows you to enter the text on the image.
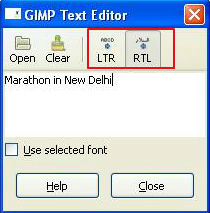
- There are four options available in the Text Editor and they enable you to Open a text file, Clear the text and Justify the text either to left or right.
How to Use:
- Set the required tool options in the image, especially Color
- Click on any portion in the image, where you would like to create the text.
- Now the Gimp Text Editor box gets displayed.
- Then enter the text in the "Gimp Text Editor" box and the text gets displayed on the image.
- Then choose either the "Left or Right" alignment for the text.
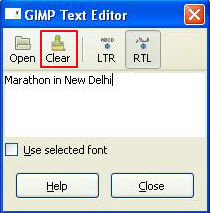
- To clear the text, just click the Clear option in the "Gimp Text Editor" box.
- User can even create texts from the files saved in their local computer system.
- Simply click on the Open option in the Gimp Text Editor box.
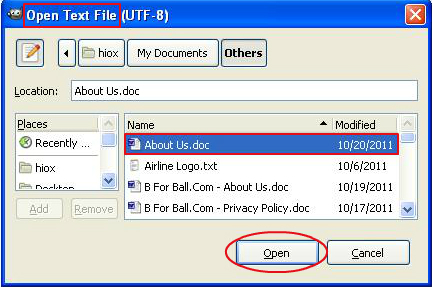
- Then Open Text File box gets displayed.
- Open the file from the location and then click "Open" button to add text to the image.
- A sample text added image is displayed below. (View the highlighted portion in the below image)

- At last, click "File -> Save" to "Save" the file.
